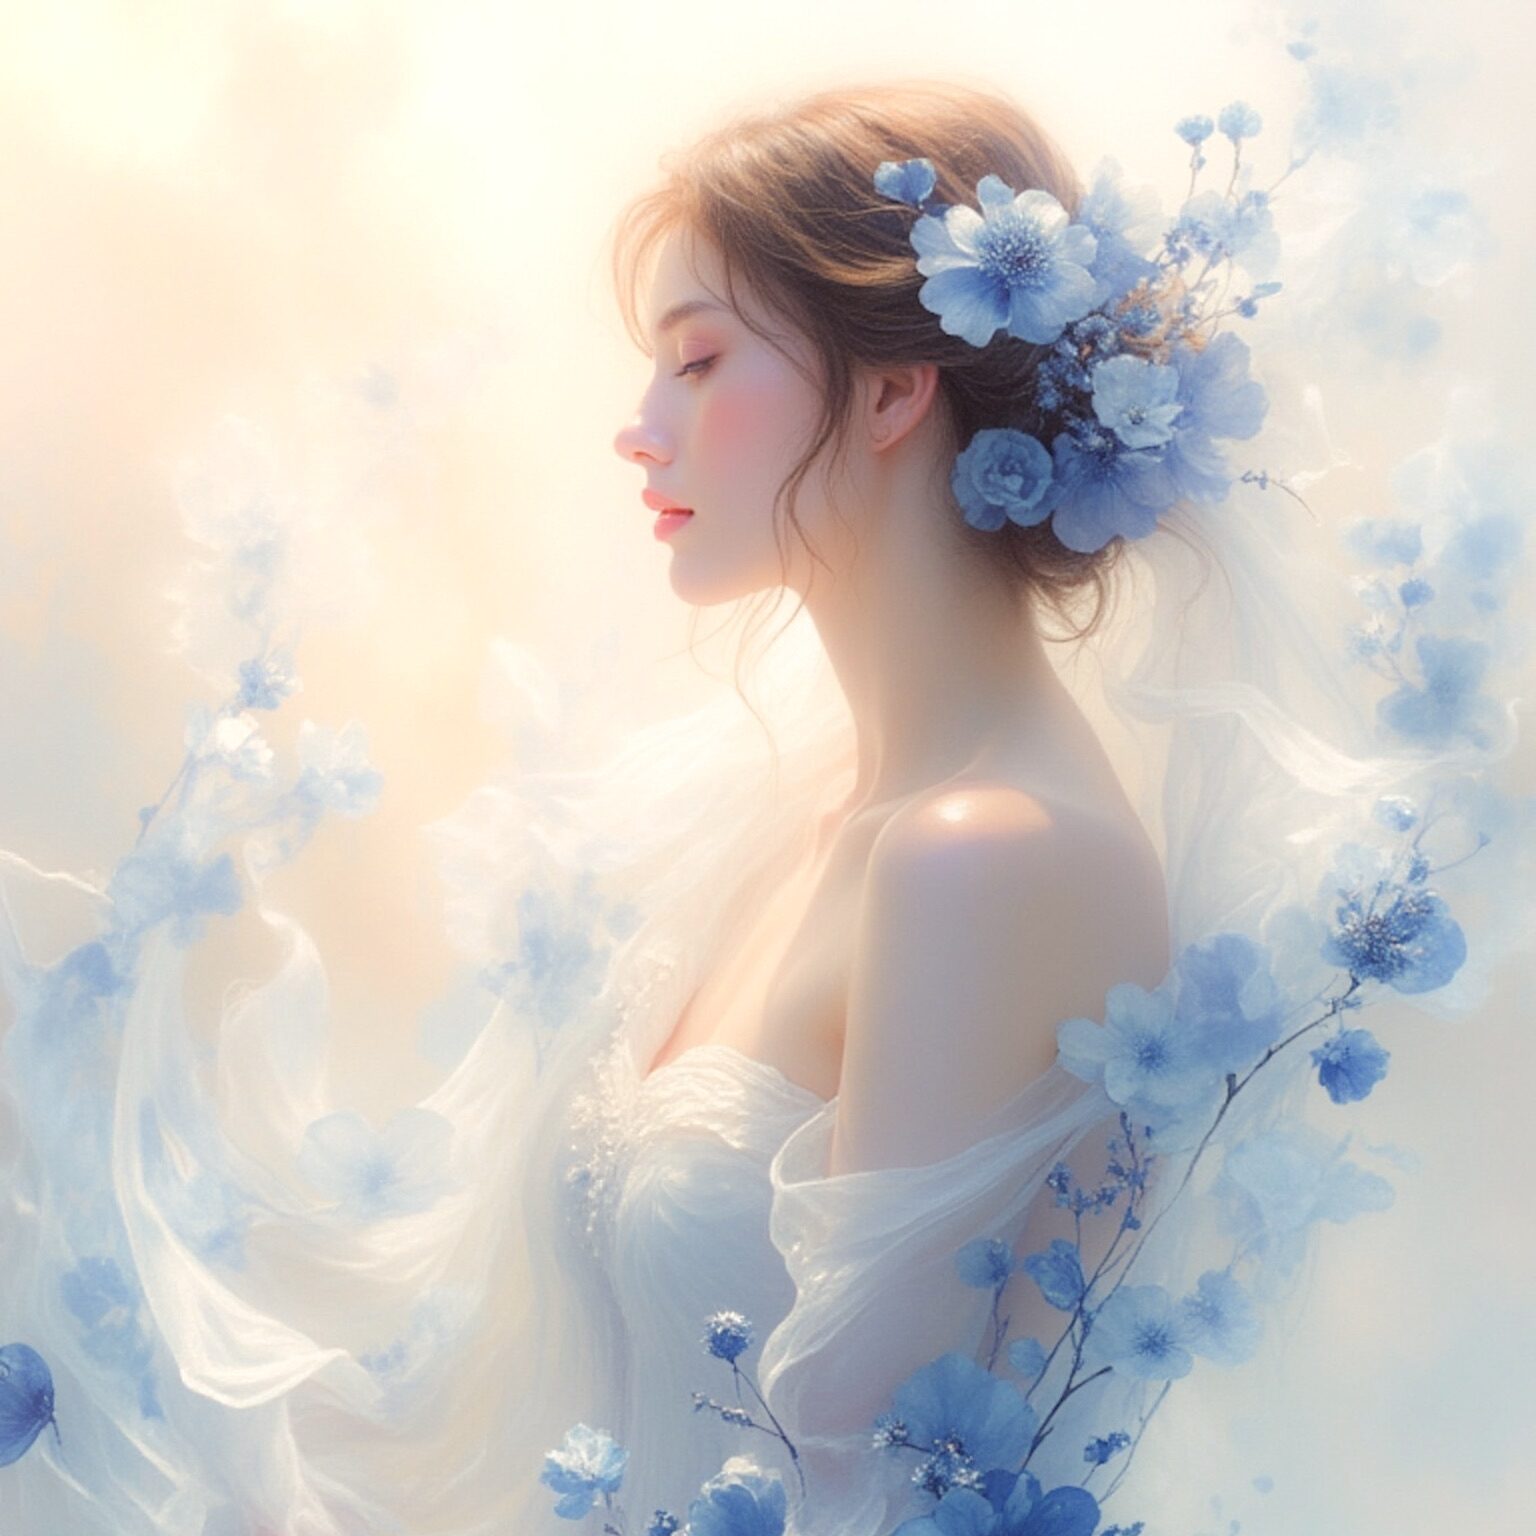
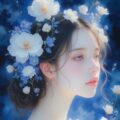
TensorArtで作成した作品「Blooming in the Light」の作成過程を解説しますね。
今回はイラストを生成した後に光源や光を追加する方法もお話します。
生成パラメータ
TensorArtを使って以下のパラメータで作成しました。
| パラメータ名 | 値 |
|---|---|
| Prompt | A sensual watercolor illustration featuring an elegant figure draped in a silky flower that wraps gracefully around the body, its petals softly dissolving into the background like delicate brushstrokes merging with air. The petals mimic the intricate patterns of blue and white porcelain, their edges subtly bleeding into the surrounding mist, creating an ethereal, dreamlike effect. The colors gently blend and flow together, as if carried by an unseen breeze, enhancing the organic softness of the composition. Rendered in a soft watercolor technique, the artwork emphasizes the fluidity of pigments on wet paper, with delicate color transitions and blurred edges giving the scene a sense of gentle movement. Soft washes of pastel hues melt seamlessly into one another, while subtle splashes and blooms of watercolor create a natural diffusion, echoing the delicate imperfection of traditional hand-painted artwork. Light filters through the translucent petals and fabric, casting a soft, shimmering glow that enhances the sense of weightlessness and serenity. A vintage and retro aesthetic emerges through the flowy design and intricate details, while the hand-painted watercolor texture amplifies the organic, dreamy quality. Inspired by the works of Hannah Dale and Harumi Hironaka, this piece radiates elegance and tranquility, with expressive yet delicate tones that evoke a timeless, fleeting beauty. Every detail, from the silky texture of the flower to the porcelain-inspired patterns, appears as if suspended in a moment of fluid harmony, where reality and illusion intertwine effortlessly. |
| Negative prompt | (なし) |
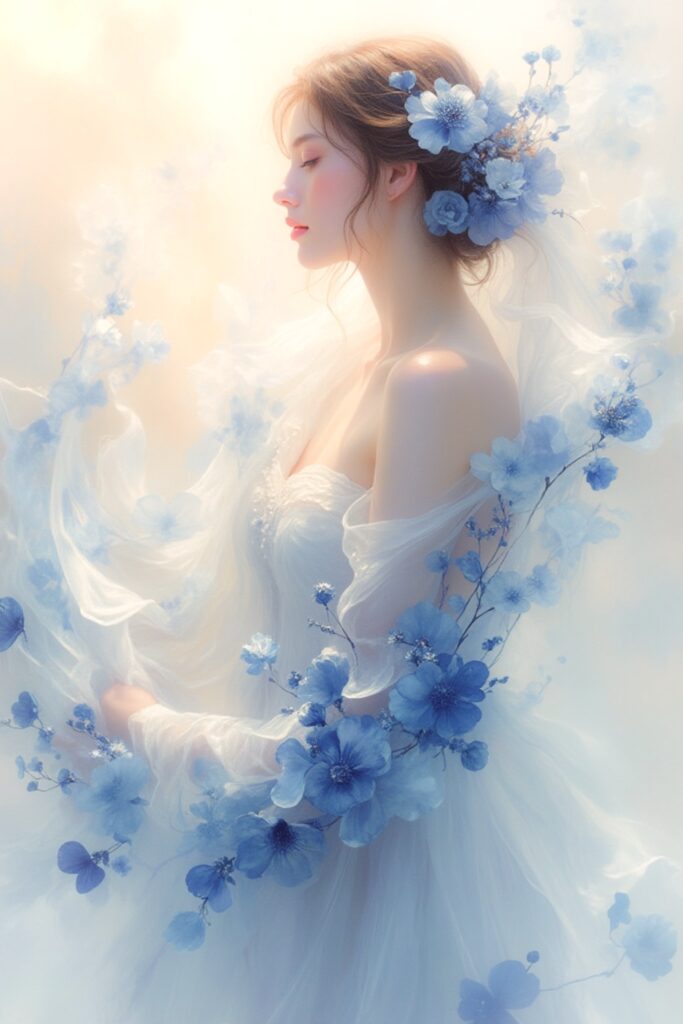
ふんわりぼかしの追加
いつものふんわりぼかしをAdobe Lightroomで追加します。
今回のように光源や光を追加する場合は、
- 光源や光を追加してから、ふんわりぼかし
- ふんわりぼかしを入れてから光源や光を追加
の2パターンがあります。
経験上、光源や光を追加してから、ふんわりぼかしのほうがよい結果になることが多いのですが、今回は先にふんわりぼかしを入れたほうがよい感じになりました。
Lightroomの設定は以下のようにしました。
| ライト-露光量 | -0.13 |
| カラー-色温度 | +7 |
| 効果-テクスチャ | -28 |
| 効果-明瞭度 | -35 |
| 効果-かすみの除去 | -5 |
| 効果-周辺光量補正 | +29 |
光源の追加
光を浴びている感じにしたいので、光源を追加しました。
光源はiPhone、iPadのアプリLensLight Visual Effectsを使用します。
(残念ながらAndroid版はなかったようです。すいません。同じようなアプリを見つけたら追加しますね。)

いろいろな光を入れられるので試してみてください。

詳しい使い方は今後の作品の中で解説しますね。
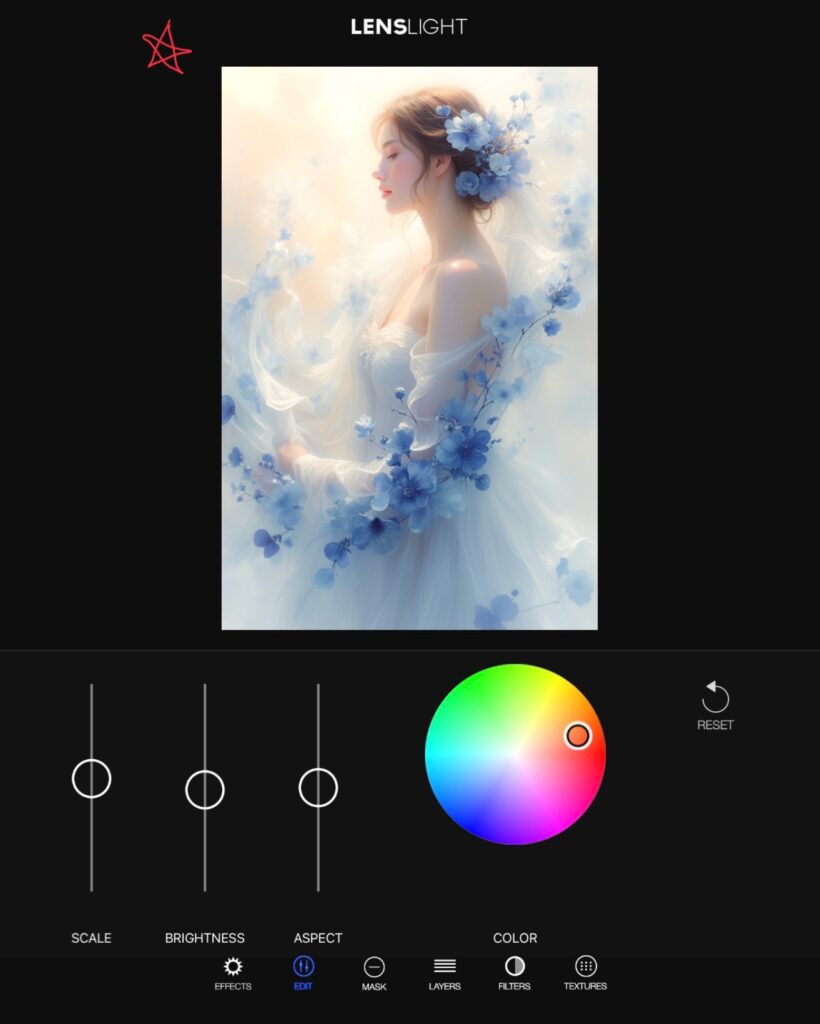
イラストの外に光源を配置して遠くから光が届いてる感じにします。
赤い星あたりに光源を配置し、SCALE、BRIGHTNESS、光の色を調整しました。
いい感じに仕上がったら保存して終了です。
最後に
「Blooming in the Light」の作成過程をお話しました。
LensLight Visual Effectsというアプリでイラストに光源や光を追加することができます。
星のような光も追加できるので、いろいろ活用できそうです。どこかで解説しますね。
イラスト内の光なのでプロンプトでなんとか表現すべきかもしれませんが、思った位置に光を配置するのは難しいですよね。
そのような時にちょっと光を盛りたいときはオススメです!
ぜひ一度お試しください。
光や他にも盛れるアプリがあったら、ぜひコメントで教えてくださいね。
コメント